Introduction Adobe Premiere Pro.
Adobe Premiere Pro marks its existence in the world of video editing as one of the most powerful and versatile tools anyone has available. Be it a professional editor or someone who is just starting out, trying to get their first glimpse into the video production world, Premiere Pro is bound to provide an incredible number of characteristics and capabilities to help produce fantastic videos. Therefore, this article provides a detailed view of Adobe Premiere Pro-from the basic interface to advanced editing techniques.IT
1. Getting Started with Adobe Premiere Pro.
1.1 Installation and Setup
Pre-steps before you shoot those videos are to download Adobe Premiere Pro. Here is how to get rolling:
- Purchase and Download: Go to the Adobe website, buy a subscription for Adobe Premiere Pro and download the installer. Follow the guidelines prompted on-screen to get the program installed on your Computer.
- System Requirements: Your system should be able to meet the minimum requirements in terms of running Adobe Premiere Pro. This involves having a proper working framework, appropriate Slam, and a strong illustrations card.
1.2 Understanding the Interface
You open Adobe Premiere Pro for the first time, and you might find the interface shocking. But trust me, it is designed to give you complete access to everything you’ll need.
- Project Panel: Here’s where you organize and access your media files.
- Timeline Panel: It is the place where you assemble your video shoots and edit them.
- Source Monitor: Here, you can preview and cut your raw shots.
- Program Monitor: This is where you see the end product of your edited sequence.
- Tool Panel: This includes many changing tools from the determining tool, razor tool, and many more.
2. Importing and Organizing Media.
2.1 Importing Media Files
Begin by importing your media files into Adobe Premiere Pro. You can import video, audio, and image files. Here’s how you can do it:
- File Import: Go to File > Import and select the files you want to import in your project.
- Media Browser: Access and find media from your hard drive using the Media Browser panel.IT
2.2 Organizing Your Media
Keeping your files organized is essential for productivity. Adobe Premiere Pro provides a number of ways to help you with keeping your files organized:
- Bins: Group all your media by creating bins (folders) in the Project Panel-type, project, or otherwise.
- Metadata: These add metadata tags and even organize your clips. Shot type, location, and much more are included.
- Labels: Just color-code using labels for quick identification of media types.
3. Basic Editing Techniques.
3.1 Creating a New Sequence
A sequence is where you will gather and edit your clips. How to create a new sequence:
- New Sequence: File> New > Sequence or use Ctrl + N.
- Settings: You determine the settings of the new sequence from the top, depending on your project, such as resolution and frame rate.
3.2 Adding Clips to the Timeline
Drag and drop your media files from the Project Panel into the Timeline Panel. Arrange your clips in the order in which you’d like to see them, and cut some so they fit accordingly.
3.3 Cutting and Trimming
- Razor Tool: You will use the Razor Tool to cut your clips up into pieces.
- Trim Tool: Besides that, you will need the Trim Tool to move your in and out points on your clips.
3.4 Transitions
Adding transitions between your clips will create smooth edits:
- Cross Dissolve: Perhaps the most widely used transition in FCPX, this can be found under Effects > Video Transitions > Dissolve.
- Other Transitions: Experiment with other transitions you come across, such as wipes, slides, and fades.
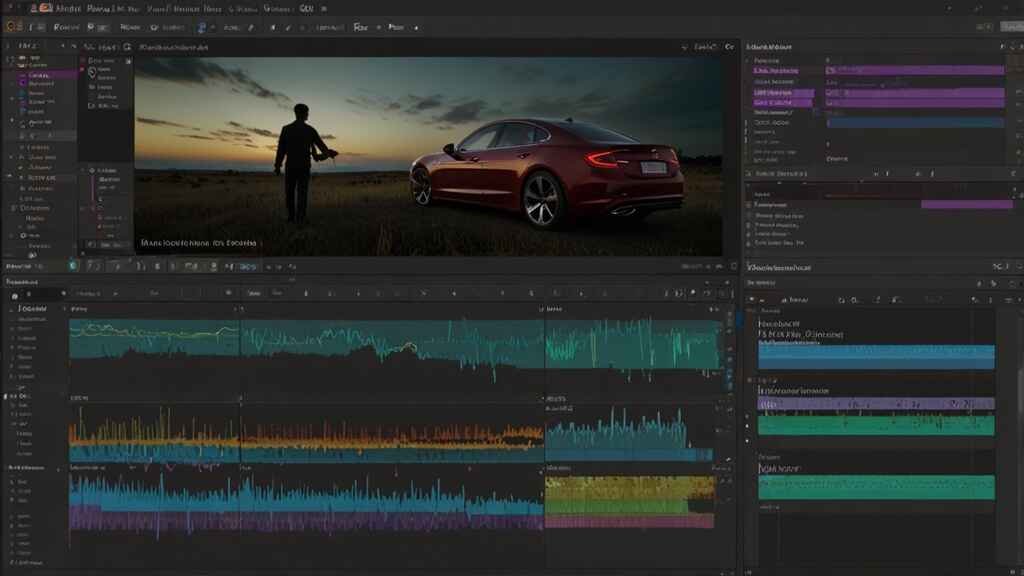
4. Advanced Editing Techniques.
4.1 Multi-Camera Editing
Multi-camera altering permits you to adjust and switch between different camera points:
- Create Multi-Camera Source Sequence: Sync your clips based on timecode or audio.
- Enable Multi-Camera View: Use the Multi-Camera Monitor to switch between angles in real-time.
4.2 Keyframing and Animation
Keyframes are used to animate effects and properties over time:
- Adding Keyframes: Click the stopwatch icon next to a property in the Effect Controls panel.
- Animating: Adjust the property values at different points in time to create animations.
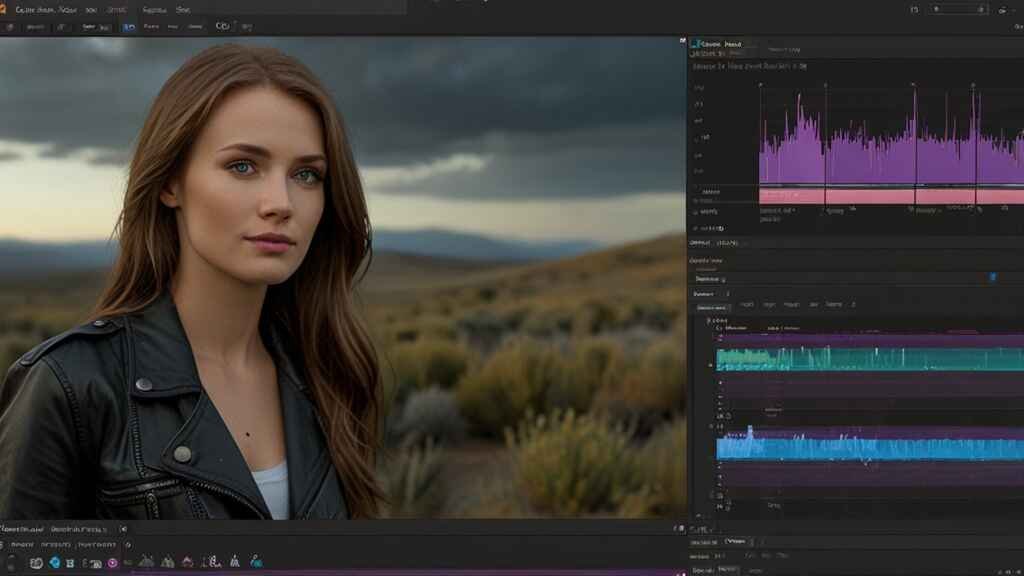
4.3 Color Correction and Grading
Color correction and grading are essential for achieving the desired look for your video:
- Lumetri Color Panel: Use this panel for basic and advanced color correction.
- Scopes: Utilize the waveform and vectorscope monitors to ensure accurate color grading.IT
5. Audio Editing and Mixing.
5.1 Importing and Editing Audio
Good audio is crucial for a professional video. Import your sound documents and put them on the timetable. Utilize the accompanying apparatuses to alter your sound:
- Essential Sound Panel: Assign audio types (e.g., dialogue, music, effects) and apply presets.
- Audio Track Mixer: Adjust volume levels and add effects to your audio tracks.
5.2 Audio Effects
Enhance your audio with effects:
- Equalizer: Adjust the balance of frequencies in your audio.
- Reverb and Echo: Add spatial effects to your audio tracks.
5.3 Syncing Audio and Video
Ensure your audio and video are perfectly synced, especially when dealing with separately recorded audio:
- Merge Clips: Sync clips based on timecode or audio waveform.
- Manual Syncing: Align audio and video tracks manually on the timeline.
6. Working with Effects and Graphics.
6.1 Applying Video Effects
Debut Genius offers an extensive variety of video impacts to improve your recording:
- Basic Effects: Apply effects like blur, sharpen, and distortion.
- Creative Effects: Experiment with more advanced effects such as chroma keying (green screen) and lens flares.
6.2 Using Motion Graphics Templates
Motion Graphics Templates (MOGRTs) allow you to add professional graphics to your videos:
- Browse and Import: Use the Essential Graphics Panel to browse and import templates.
- Customize: Modify the text, colors, and other properties of the templates to fit your project.
6.3 Titles and Lower Thirds
Create engaging titles and lower thirds:
- Text Tool: Use the Text Tool to create and customize text layers.
- Animate Titles: Use keyframes to animate your titles and make them more dynamic.
7. Exporting Your Project.
7.1 Export Settings
When you are done with your project, export your video:
- Export Menu: In the File menu go to Export then to Media or use the shortcut Ctrl + M
- Format and Preset: In the Format menu click the right format e.g. H.264 and preset e.g. YouTube 1080p
7.2 Exporting for Different Platforms
Adobe has presets for multiple platforms so you can be sure that your video will be set to the correct speciation of each:
- Social Media: These include settings for exporting YouTube, Facebook, and Instagram, among others.
- Broadcast: This is settings for exporting television and other professional broadcast standards.
8. Tips and Tricks for Efficient Editing.
8.1 Keyboard Shortcuts
(Console alternative means of interaction.)
Knowing alternative ways to use the console can really speed up your alteration cycle:
- Common Shortcuts: Ctrl+C copy, Ctrl+V paste, C razor tool, V selection tool.
- Customize Shortcuts: Customize shortcuts according to your workflow in the Edit > Keyboard Shortcuts menu.
8.2 Proxy Editing
Proxy editing lets you work on high-resolution footage smoothly by using proxies at much lower resolutions.
- Create Proxies: Ingest your footage and create proxies with the Media Encoder.
- Toggle Proxies: Turn proxies ON/OFF with the Toggle Proxies button.
8.3 Collaboration and Project Sharing
Collaborate with multiple editors and share your workflow:
- Team Projects: Collaborate in real-time through Adobe’s Team Projects
- Export Project: Export your project as a Premiere Pro project file or XML for sharing.IT
The Best 10 Adobe Premiere Pro Plugins for Enhancing Your Editing Workflow.
Adobe Premiere Pro is a video editing powerhouse, but it is that much more powerful with plugins. Plugins are additional functionalities used to enhance the functionality of Premiere Pro. They include advanced effects and transitions to strong color correction tools and audio capabilities. Here, we explore the ten best plugins for Adobe Premiere Pro that every video editor should consider.
1. Red Giant Universe Adobe Premiere Pro.
Overview: The Red Giant Universe is an extension of effects and transitions. More than 80 GPU-accelerated plugins have the potential to add a touch of professionalism to your projects.
Key Features:
- Transitions: dynamic transitions such as VHS, Retrograde, and Glitch
- Effects: apply creative stylization by tools such as Chromatic Aberration, Holomatrix II, and VHS.
- Presets: Includes customizable presets to speed up your workflow.
Usage Tips:
- Use Glitch transition for a modern, techy look on your edits.
- Apply the VHS effect for a retro, nostalgic look.
2. Boris FX Sapphire Adobe Premiere Pro.
Overview: Boris FX Sapphire is an effects and transition package of breathtaking quality and sophistication, where the pros in film and broadcast use it.
Key Features:
- Visual Effects: Over 270 effects, which include lighting, distortions, and artistic effects.
- Transitions: Unconventional effects transitions such as LightLeaks or FilmRoll.
- Builder: A node-based effect creation tool for creative effects.
Usage Tips:
- Use LightLeaks effect to add organic leaks, colored bright, to your footage.
- Play with FilmRoll transition and have a classic look for your film.
3. Magic Bullet Looks Adobe Premiere Pro.
Overview: Magic Bullet Looks by Red Giant provides extensive color grading options, making color correction easy and accessible with over 200 prescribed looks and some intuitive tools.
Key Features:
- Color Grading: Advanced color correction tools, including real time feedback.
- Presets: Over 200 customizable presets available.
- Tools: Colorista, Mojo, Cosmo for fine-tuning purpose.
Usage Tips:
- Apply the Cosmo tool so that the skin tone appears soft and blur most of blemishes.
- Apply presets as a base and fine-tune to fit the look you envision for your project.IT
4. Adobe Premiere Pro Neat Video.
Overview: Neat Video is a noise reduction filter which truly shines at eradicating noisy frames out of footage, making it an invaluable tool for most editors working on low-light or grainy footage.
Key Features:
- Noise Reduction: Latest algorithms to reduce noise and grain.
- Sharpening: Sharpen footage, while still eradicating noise.
- Profiles: Produce noise profiles for specific cameras and settings.
Usage Tips:
- This example the noise profile is generated from a sample frame analysis for accurate detail retention.
- Noise filter adjustment This is done to retain levels of noise but concentrate most on detail.
5. FilmImpact.net Transitions Adobe Premiere Pro.
Overview: FilmImpact.net offers a range of high-quality video transitions that can add a professional touch to your edits. The transitions are designed to be easy to use and highly customizable.
Key Features:
- Transitions: A variety of transitions including Impact Push, Impact Blur, and Impact Burn.
- Customization: Fine-tune transition settings to fit your project.
- Performance: GPU acceleration ensures smooth playback and rendering.
Usage Tips:
- Use Impact Push for seamless slide transitions between scenes.
- Experiment with Impact Burn for dramatic, fiery transitions.
6. Adobe Premiere Pro CoreMelt V2 Plugin Set.
Overview: CoreMelt V2 is an integrated package of over 220 plugins that take care of every single facet, from color grading to motion graphics and transitions, in audio video editing.
Key Features:
- Visual Effects: Tools for color correction, compositing, and stylizing.
- Transitions: Smooth and dynamic transitions to enhance your edits.
- Motion Graphics: Tools for creating and animating text and graphics.
Usage Tips:
- Utilize the color correction tools to achieve precise color grading.
- Apply motion graphics tools to create dynamic title sequences.IT
7. FX Factory Pro Adobe Premiere Pro.
Overview: FX Factory Pro is a one-stop-shop plugin suite providing hundreds of effects, transitions, and generators. You can have tools in FX Factory Pro ranging from color grading through visual effect and on to motion graphics.
Key Features:
- Effects: A broad array of visual effects for creative editing.
- Generators: Create backgrounds, shapes, and other elements.
- Customizable: Many effects and transitions come with customizable parameters.
Usage Tips:
- Explore the range of generators to create unique backgrounds and textures.
- Use customizable effects to add a personal touch to your edits.
8. Motion Array Adobe Premiere Pro.
Overview: Motion Array is a subscription-based service that offers access to a massive library of templates, presets, plugins, and assets for video editors.
Key Features:
- Templates: Professionally designed templates for titles, transitions, and effects.
- Presets: Ready-to-use presets for color grading and effects.
- Assets: Stock footage, music, and sound effects to enhance your projects.
Usage Tips:
- Use templates as shortcuts in quick creation of professionally styled titles and lower thirds.
- Stock footage and music will give your videos that professional quality.IT
9. NewBlueFX TotalFX Adobe Premiere Pro.
Overview: NewBlueFX TotalFX is an all-in-one package of over 1400 presets and more than 200 effects and transitions, addressing the most comprehensive editing range from color correction to titling.
Key Features:
- Titling: Advanced tools with customizable templates for titling
- Color Correction: Comprehensive color grading and correction tool
- Effects: Add some visual effects enhancing and stylizing your footage.
Usage Tips:
- Put titling tools to use by making dynamic and animated titles.
- Color grades cinematic color using color correction tools.
10. PluralEyes by Red Giant Adobe Premiere Pro.
Overview: PluralEyes is an audio sync plug-in, automatically determining the sync of the audio and video clips with high accuracy, thus saving you the hassle and time wasted in post-production.
Key Features:
- Auto-Sync: Sync audio and video clip with just a click.
- Multi-Camera: Easy syncing of multiple camera angles
- Accuracy: Highly accurate sync to make sure audio and video clip are perfectly aligned.
Usage Tips:
- To be used especially in multi-source audio projects.
- Import them again into Premiere Pro for smooth editing.
Conclusion
Actually, Adobe Premiere Pro is a pretty complete tool with an avalanche of capabilities that can help in polishing up a short film or do your YouTube vlog’s editing needs. Whatever you’re working on-negotiating with a corporate client or talking with some friends-premiere Pro will be the tool you need to make your vision a reality. Happy editing!IT